 ultimate-guide
Full Colour Printed T-Shirts: 2026 Business Guide
Table of Contents
- Why Full Colour Printed T-Shirts Work for Branded Workwear
- DTF Printing vs Screen Printing: Which Suits Your Order?
- Fabric, Fit and Garment Quality: Choosing the Right Blank T-Shirt
- Custom Workwear Design Tips: Preparing Artwork That Prints Cleanly
- Bulk Orders, Minimum Quantities and Turnaround Times
- How to Care for Printed Workwear So Logos Last Longer
- Matching Full Colour Printed T-Shirts to Your Team's Work
- Frequently Asked Questions
Last Updated: September 26, 2026
Why Full Colour Printed T-Shirts Work for Branded Workwear
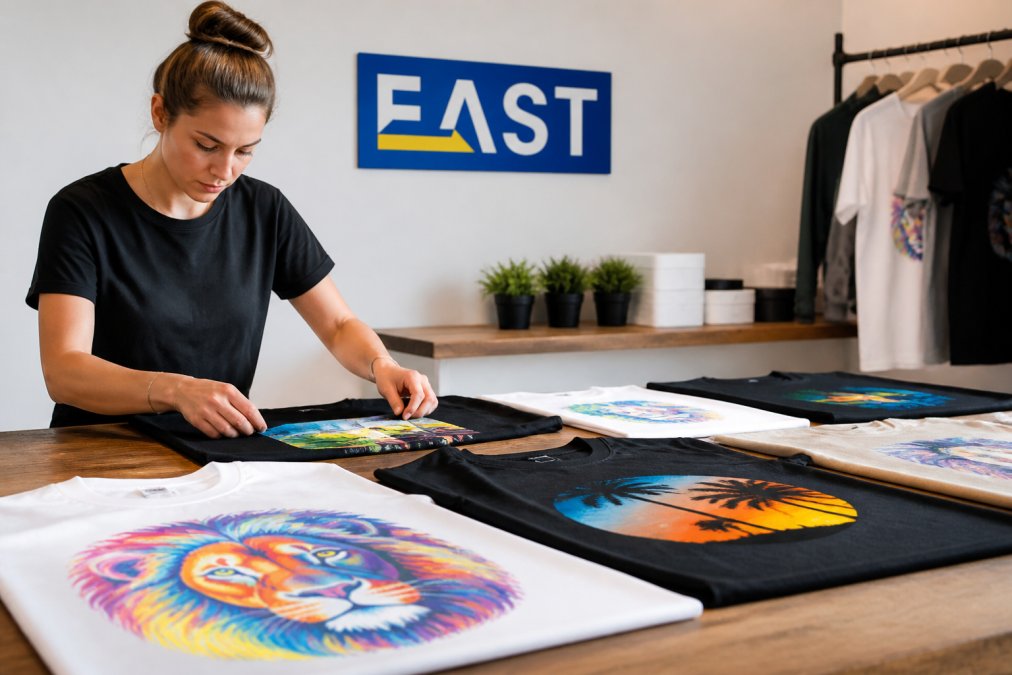
Full colour printed t-shirts give teams a professional, consistent look that single-colour embroidery cannot match. This guide from Workwear East covers printing methods, fabric choices, artwork preparation and bulk ordering for businesses that need branded workwear.
A logo is often the first thing a customer notices. Full colour printed t-shirts carry that logo in sharp detail, whether it is a simple wordmark or a photographic image. Unlike a single-thread embroidered badge, digital printing reproduces gradients, fine text and multi-tone designs faithfully. For trade firms, event teams and corporate staff, that means one garment does the job of a uniform and a marketing tool. Below, we break down the printing methods, the blanks worth buying, and how to prepare artwork that survives the wash.
DTF Printing vs Screen Printing: Which Suits Your Order?
DTF printing wins for detailed, multi-colour designs and short runs; screen printing wins on cost per unit for large single or few-colour orders. Choose by design complexity and quantity, not habit.
DTF printing, or direct-to-film, prints a design onto a film, coats it with adhesive powder, then heat-presses it onto the garment. It handles photographs, gradients and unlimited colours without extra setup cost per colour.
Screen printing pushes ink through a mesh stencil, one screen per colour. Setup takes time, but the per-unit cost drops sharply once you pass a few dozen items in the same design.
| Method | Best For | Colour Range | Setup Cost | Short Runs |
|---|---|---|---|---|
| DTF printing | Photos, gradients, complex logos | Unlimited | Low | Economical |
| Screen printing | Bold, simple logos | One to four | Higher | Costly |
| Embroidery | Text, simple marks, durability | Limited threads | Medium | Moderate |
How Full Colour Digital Printing Handles Photographs and Gradients
Digital printing reproduces photographs and colour blends that screen printing cannot. A DTF print lays down fine ink droplets, so skin tones, shadows and smooth fades come out clean. That is why it suits promotional t-shirts carrying a product shot or a detailed crest. The trade-off is that very large flat colour blocks can look slightly softer than a screen print, so keep solid areas to a sensible size.
Fabric, Fit and Garment Quality: Choosing the Right Blank T-Shirt
Print quality only holds up on a blank worth printing. Look at fabric weight, fibre content and stitch quality before you look at colour.
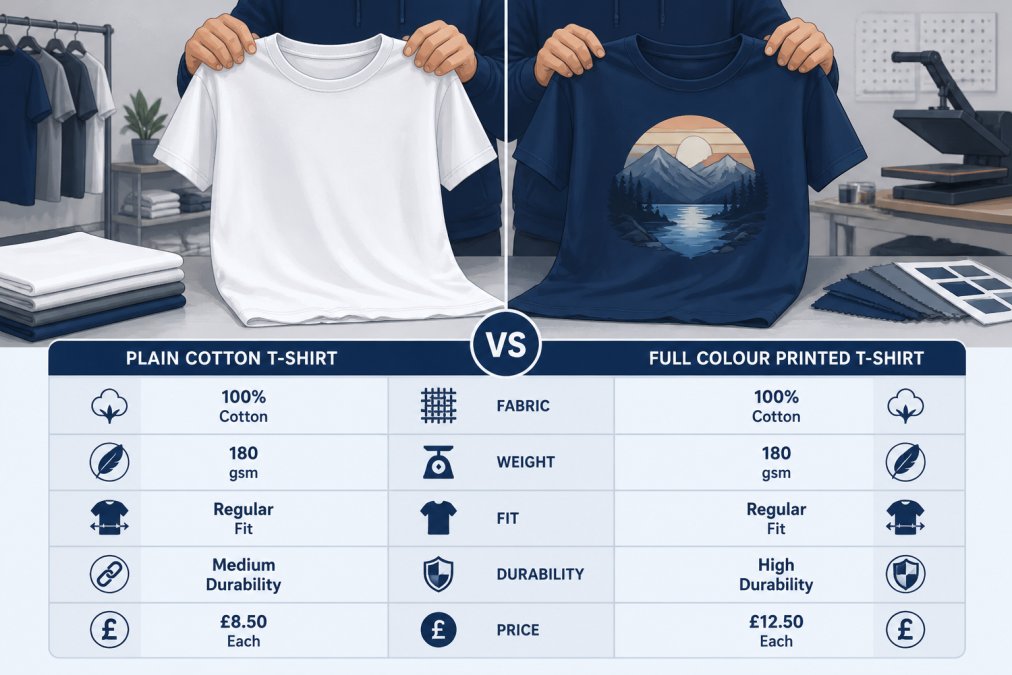
Fabric weight is measured in gsm, or grams per square metre. Heavier cotton, roughly 180 to 220 gsm, holds its shape and drapes better than thin budget blanks. Fibre content matters too: 100% cotton takes DTF and screen printing well, while a cotton-poly blend resists shrinking and creasing. Check the shoulder seams and hem stitching; a garment that twists after a few washes was never going to look sharp. For safety-critical roles, hi-vis garments must meet the relevant standard, so confirm the blank carries the right certification before printing.
Custom Workwear Design Tips: Preparing Artwork That Prints Cleanly
Clean prints start with clean artwork. Supply high-resolution files, use the right colour profile, and keep the design inside the print area. Most print problems, soft edges, colour shifts, cracked ink, trace back to the file, not the press.
A common mistake is sending a logo lifted from a website. Those files are usually low-resolution and print soft or pixelated. Send the original vector file if you have one, or a high-resolution raster image at 300 dpi or above at final print size. Vector graphics scale without losing sharpness; raster images do not.
Print File Preparation: Vector, Raster and Colour Profiles
Vector graphics are built from paths and scale to any size, which makes them ideal for logos. Common formats are .AI, .EPS, .PDF and .SVG. Raster images are built from pixels and need enough resolution for the print area, a logo that looks crisp on a screen can fall apart at A3 print size if it was only 72 dpi to begin with.
A useful rule of thumb: match the resolution to the final print size, not the size on screen. A design printed at 300 dpi at 20 cm wide needs roughly 2,360 pixels across. If you only have 800 pixels, the print will look soft no matter how good the press is.
Colour profiles are the other half of the equation. Screens display in RGB; most garment printing workflows use CMYK or, for DTF, a wider ink set. Convert artwork to CMYK before sending it, and expect some shift, bright neon greens and vivid oranges sit outside the CMYK gamut and will print duller than they look on screen. If exact brand colour matters, supply a Pantone reference so the printer can match as closely as the process allows.
Text and fine lines need care too.
A Quick Pre-Flight Checklist Before You Send Artwork
- File format: vector (.AI, .EPS, .PDF, .SVG) preferred; raster at 300 dpi minimum at final size
- Colour mode: converted to CMYK, with Pantone references noted for brand colours
- Text: converted to outlines, no missing fonts
- Line weights: nothing thinner than about 0.5 pt
- Margins: design sits clear of seams, collars and the print-area edge
- Background: transparent, not a white box that will print as a block
Working through this list once saves a round of proofs and a delayed order. If you are unsure whether a file will print cleanly, email info@workweareast for a quote and a file check before you commit to a run, it is far cheaper than reprinting.
Bulk Orders, Minimum Quantities and Turnaround Times
Bulk orders cut the cost per garment, but they also raise the stakes on sizing and deadlines. Plan quantities, sizes and dates before you place the order, and match the print method to the job, because minimums and turnaround vary sharply between them.
- DTF on stock garments: often the quickest route, since there is no screen setup
- Screen printing: add time for screen creation and a drying or curing stage
- Embroidery: add time for digitising the design before the first stitch runs
- Non-stock or specialist garments: add lead time for the blank itself
Matching the Order to the Use Case
Different jobs call for different approaches, and picking the right one keeps both cost and hassle down:
-
One-off gifts or samples: DTF, low minimum, no screen setup to absorb
-
Corporate branding for a fixed team: screen printing for simple logos in volume, DTF for detailed or photographic marks
-
Merchandise for resale: screen printing on a few bold colours gives the best per-unit economics at scale
-
Mixed departments with rolling reorders: a workwear portal keeps sizes, designs and reorder history in one place
-
Confirm final artwork and colour profile
-
Collect accurate sizes from every wearer
-
Agree quantity per design and per size
-
Set the delivery date with buffer time
-
Approve a sample before the full run
How to Care for Printed Workwear So Logos Last Longer
Printed workwear lasts longer when you wash it inside out, at low temperature, and never tumble dry it. Heat is the main enemy of a print.
Matching Full Colour Printed T-Shirts to Your Team's Work
The right print method and garment depend on the job. Match the choice to how the clothing will actually be worn.
- Construction and trade teams: heavy cotton or poly-blend tees, durable prints, hi-vis where required
- Corporate and office staff: lighter cotton, neat fit, subtle printed logo
- Event and promo teams: bold full colour prints for short-term visibility
- Mixed departments: a workwear portal to manage sizes and reorders across teams
Frequently Asked Questions
What is the difference between DTF and screen printing for full colour designs?
DTF printing transfers a digitally printed film onto the garment, so it handles full colour photographs, gradients and small runs without setup costs. Screen printing pushes ink through a mesh screen and needs a separate screen per colour, which makes it cheaper per unit on large runs of simple designs. For detailed, multi-colour artwork on full colour printed t-shirts, DTF usually gives you more flexibility. Screen printing still wins on very high quantities of one or two-colour logos.
How long do full colour printed t-shirts last?
Lifespan depends on the print method, fabric and how the garment is washed. A correctly applied DTF or screen print on cotton typically stays intact for the life of the shirt, often two years or more of regular wear, provided you wash inside out at 30°C and avoid tumble drying. Prints fail early when they are cured badly or exposed to high heat, so ask your supplier about their curing process and wash-testing before committing to a bulk order.
Can I print high-resolution photographs on workwear t-shirts?
Yes. Digital methods such as DTF printing reproduce full colour photographs, gradients and fine detail that screen printing cannot match without many screens. Supply your artwork at 300dpi at the final print size, in CMYK where possible. Low-resolution files pulled from a website or social media will look soft or pixelated once printed, so always send the original high-resolution artwork or a vector version of any logo.
Are full colour prints suitable for daily workwear?
They are, as long as the garment and print are matched to the job. For trade, construction and industrial teams, choose a heavier cotton or polycotton shirt with a print that has been cured properly, and consider embroidery for logos that take heavy abrasion. Full colour printed t-shirts work well for events, retail and office teams. For hi-vis and safety-critical clothing, check the garment meets the relevant standard before adding decoration.