 Ultimate guide
Embroidery Norfolk: A Complete Guide to Branded Workwear
Table of Contents
- Why Embroidery Norfolk Businesses Rely On for Branded Workwear
- What Embroidered Workwear Does for a Business
- Embroidery vs Printing Workwear: Which Suits Your Order
- How to Prepare a Logo for Embroidery
- Workwear Logo Placement That Looks Right
- Garments, Threads and Embroidery Durability
- Workwear Embroidery Care: Keeping Logos Sharp
- Order Process, Lead Times and Delivery
- Frequently Asked Questions
Last Updated: October 17, 2026
Why Embroidery Norfolk Businesses Rely On for Branded Workwear
Embroidery Norfolk workwear gives a team a permanent, professional identity that survives daily wear, industrial washing and years of use.
Here is the uncomfortable truth most suppliers avoid. A logo that cracks, peels or fades after a few washes costs more than a better one ever would, because you pay twice: once for the garment, and again for the replacement and the downtime.
Below, we explain exactly how to choose between embroidery and printing, how to prepare a logo file, where to place it, and what to expect from the order process.
What Embroidered Workwear Does for a Business
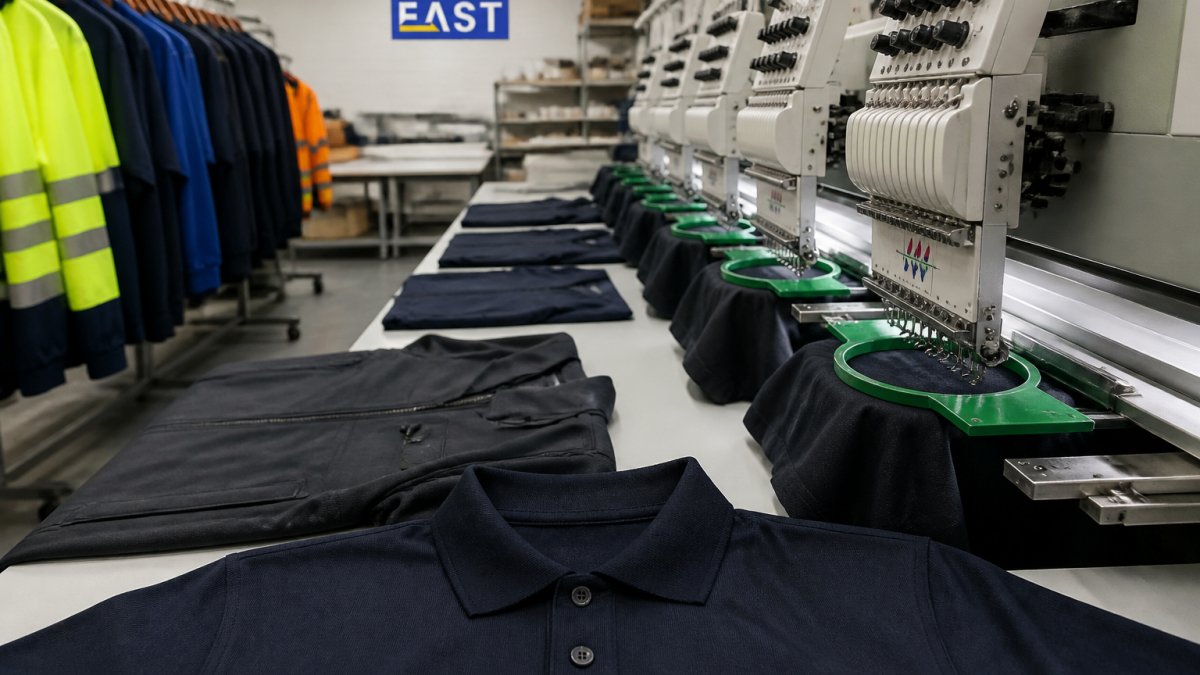
Embroidered workwear is garment decoration where a stitched logo or design is sewn directly into the fabric using thread, producing a raised, textured finish that does not peel or wash away. It turns a plain polo or hoodie into branded clothing that identifies staff on site and in front of customers.
The practical benefits stack up quickly:
- Durability. Thread is stitched through the weave, so there is no adhesive layer to fail.
- Perceived quality. A stitched logo reads as considered and established, which matters for trade firms meeting clients.
- Consistency. Once the design is set up, every garment in the order matches.
- Staff buy-in. Teams tend to look after branded clothing better than generic kit.
For construction and trade firms, embroidered workwear also pairs naturally with hi-vis garments, where a stitched company name stays legible through repeated industrial laundering.
Embroidery vs Printing Workwear: Which Suits Your Order
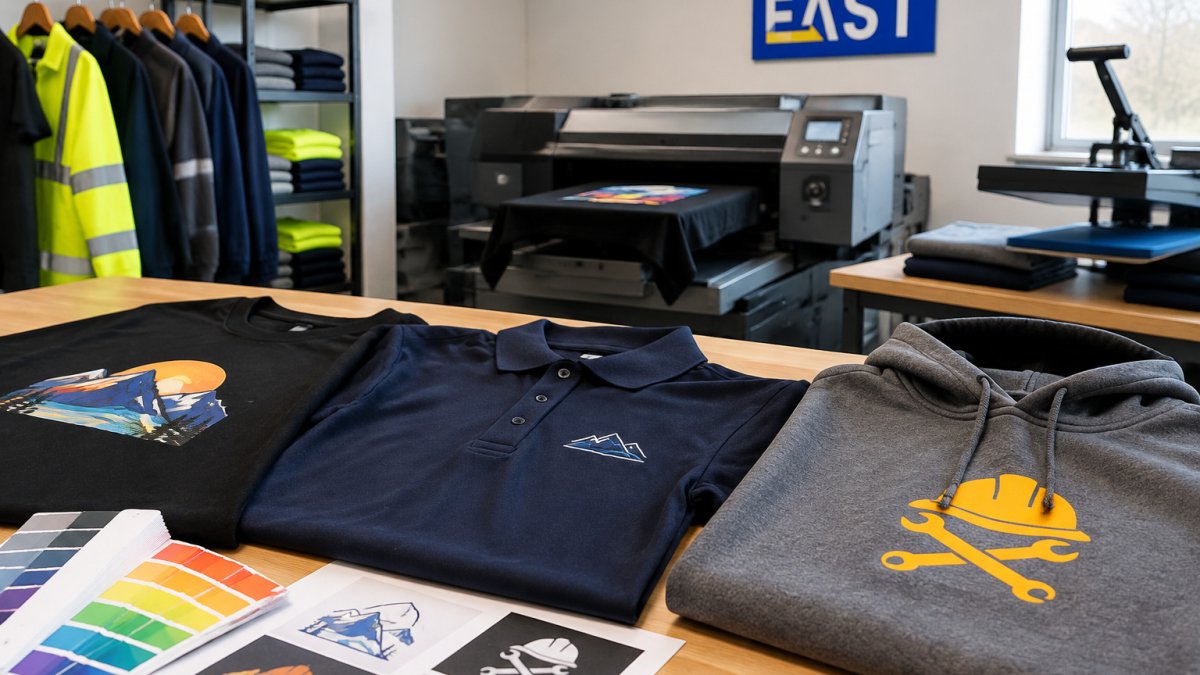
The choice between embroidery and printing workwear comes down to three variables: design complexity, fabric, and how hard the garment will be worn. Embroidery wins on durability and texture; printing wins on colour range and fine detail.
When Each Method Wins
Choose embroidery when:
- The design is a logo with solid shapes, lettering or a badge
- Garments face frequent washing or industrial laundry
- You want a premium, textured finish on polos, hoodies or caps
- The order will be repeated over time and needs to look identical each run
Choose printing when:
- The artwork has gradients, photographs or many colours
- You need full-colour detail on T-shirts or promotional apparel
- The order is a one-off for an event or campaign
- The garment fabric is delicate or heat-sensitive
| Factor | Embroidery | Printing (DTF / Screen) |
|---|---|---|
| Best for | Logos, badges, text | Photos, gradients, full colour |
| Durability | Very high | High with correct care |
| Colour range | Limited by thread stock | Near unlimited |
| Feel | Raised, textured | Flat or slightly raised |
| Ideal garments | Polos, hoodies, caps, hi-vis | T-shirts, promotional items |
| Repeat orders | Highly consistent | Consistent with file control |
A common mistake is ordering printed logos on work polos to save a little money, then replacing them within a year. For garments that get worn five days a week, embroidery is almost always the better long-term decision.
How to Prepare a Logo for Embroidery
Preparing a logo for embroidery means converting your artwork into a stitch file through a process called digitising. Vector files work best; a low-resolution JPEG pulled from a website will need redrawing, and that adds time and cost.
Send us the highest-quality version you have. The format matters more than most buyers realise:
- Best: vector files (AI, EPS, PDF, SVG) with clean edges
- Workable: high-resolution PNG with a transparent background
- Difficult: screenshots, photos of business cards, social media images
What Digitising Involves
Digitising is the process of mapping a design into stitch paths, specifying stitch type, density, underlay and colour sequence for the embroidery machine. It is a skilled task, not an automatic conversion, and a well-digitised file is the difference between crisp lettering and a logo that puckers.
Small text is the usual sticking point. Fine serifs and lettering below a few millimetres tall will blur together in thread, so we often recommend simplifying the mark or enlarging the text for the stitched version.
Workwear Logo Placement That Looks Right
Workwear logo placement follows a handful of conventions that make branded clothing look deliberate rather than improvised.
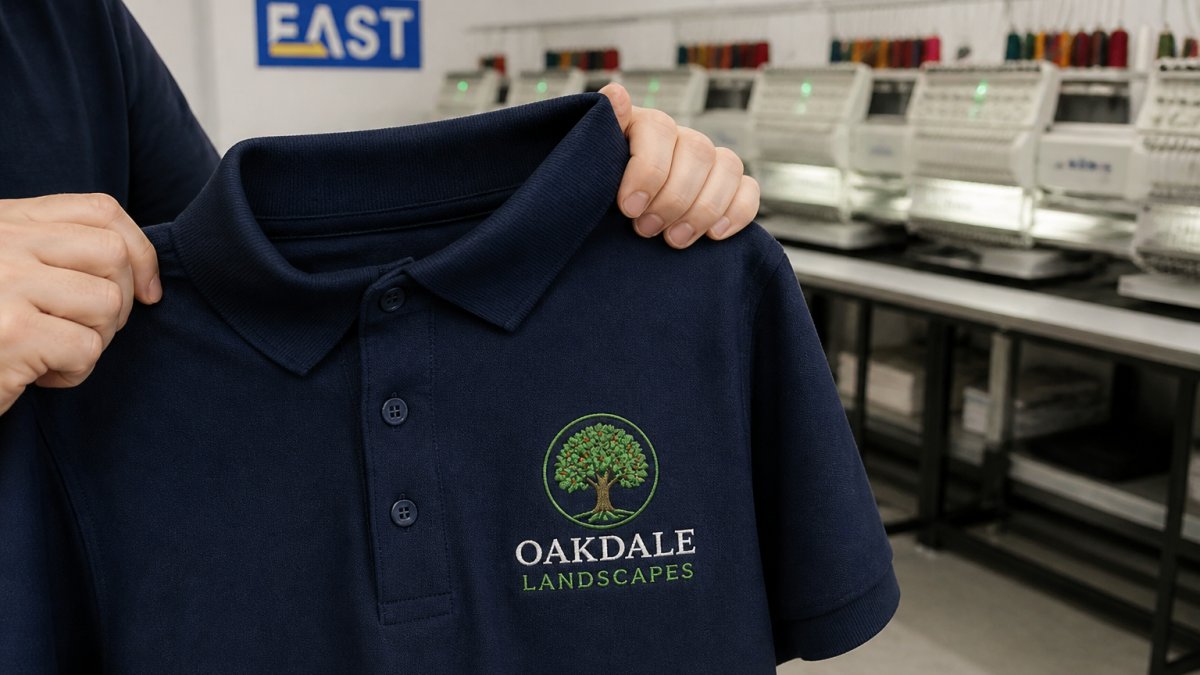
Placement options worth knowing:
- Left chest: the default for polos, shirts and softshells
- Right chest: used for a secondary mark, sponsor or safety badge
- Centre back: larger branding for events and site visibility
- Sleeve: compact marks on T-shirts and sportswear
- Cap front: centred, kept small enough to avoid distortion over the seam
Two practical rules matter more than any style guide. First, keep the logo clear of seams, zips and pocket edges, because stitching over a seam distorts the design.
Garments, Threads and Embroidery Durability
Embroidery durability depends on three things: the garment's fabric weight, the thread quality, and the stitch density chosen during digitising. Get all three right and a logo will outlast the garment it sits on. Most competitors stop at that sentence; the practical detail below is what actually determines whether a logo survives three years of daily wear.
Matching Fabric to Stitch Density
Heavier fabrics, such as a 220-280 gsm cotton polo or a bonded softshell, carry dense stitching without puckering. Lightweight, loosely woven fabrics, a 140 gsm T-shirt, for example, need a lighter stitch count and a suitable backing to stop the design pulling the garment out of shape.
Backing (the stabiliser behind the fabric) matters as much as the thread. A cut-away backing suits stretchy or heavy fabrics because it supports the stitches permanently; a tear-away backing suits stable woven fabrics where a softer finish is wanted.
Thread Choice
Polyester thread holds colour through washing far better than older rayon threads, which is why it is the sensible default for workwear. Rayon has a higher sheen and suits one-off display pieces, but it fades and weakens faster under repeated laundering. For hi-vis and industrial kit, a bonded polyester thread resists abrasion and chemical wash cycles better than standard spun polyester. If your garments go through an industrial laundry, tell your supplier upfront, commercial laundering is harsher than domestic washing, and the digitising and thread choice should account for it from the start.
What Wear Actually Looks Like
A well-digitised logo on a suitable garment typically shows minimal change after 50 domestic washes: the thread colour holds, the edges stay crisp, and the fabric around the design does not distort. Failure usually appears first as puckering around the design, then as thread breakage or colour fade.
In practice, we would rather talk a customer into a slightly heavier garment than re-stitch a logo that has distorted a thin one. The cost difference is small; the difference in service life is not.
Workwear Embroidery Care: Keeping Logos Sharp
Workwear embroidery care is simpler than most people expect: wash inside out, avoid fabric softener, and skip the tumble dryer where possible. Embroidered logos rarely fail on their own; they fail when heat and abrasion are allowed to work on them repeatedly.
A practical routine:
- Wash at a moderate temperature with a mild detergent
- Turn garments inside out to protect the stitching from friction
- Avoid biological detergents and fabric softener, which degrade thread over time
- Air dry where you can; if tumble drying, use a low heat setting
- Iron on the reverse, never directly over the embroidery
For teams sending kit to an industrial laundry, tell your supplier upfront. Commercial laundering is harsher than domestic washing, and the digitising and thread choice should account for it from the start.
Order Process, Lead Times and Delivery
The embroidery order process runs in five stages: artwork check, digitising, garment selection, production, and delivery. Getting the artwork and sizing right at the start is what keeps the rest of the timeline predictable. Below is what each stage involves and where delays typically come from, so you can plan around them rather than chase them.
- Share your logo and requirements. Send the best file you have, plus garment type, quantities and sizes. Vector files (AI, EPS, PDF, SVG) move fastest; a low-resolution JPEG will need redrawing, which adds a day or two before anything else starts.
- Approve the digitised proof. We confirm stitch detail and placement before anything is produced. Approving on screen alone is how misspelled names and merged letters reach production, so a stitch-out sample on the actual garment is worth the short wait.
- Confirm garments and sizing. A size breakdown across departments prevents the delays that come from chasing individual sizes later. Add a couple of spares in the most common sizes at this stage.
- Production. Embroidery runs once the proof and garments are locked in. Small orders typically turn around faster than large ones, and repeat orders with an approved file skip the digitising stage entirely.
- Delivery. Timings depend on garment stock and order volume, so confirm dates when you order. If you need a rush order, say so at the enquiry stage; the earlier we know the deadline, the more we can do about it.
What Causes Delay
The single most common cause of avoidable delay is a missing size after production has started. The second is artwork that needs redrawing because the only file available was a screenshot or a social media image. The third is a proof approved without a stitch-out, leading to a re-run. All three are controllable before the order is placed.
Keeping Reorders Simple
For larger teams, a workwear portal keeps sizing and reordering under control, so a new starter can be kitted out without a fresh procurement exercise each time. Once a design is digitised and approved, repeat orders are faster because the file and placement are already set.
Pricing depends on quantity, garment choice and decoration method, so we quote each order individually. Email info@workweareast.co.uk for a quote, or explore our branded polo shirts and workwear bundles to see the range.
Frequently Asked Questions
Where can businesses get workwear embroidered in Norfolk?
Look for a local embroidery service that handles digitising, garment sourcing and finishing in-house, so your logo is stitched consistently across every item. Workwear East provides embroidered and printed workwear for businesses across Norfolk from its Thetford base, covering polos, hoodies, hi-vis and corporate uniforms. Ask for samples of previous work, confirm lead times in writing and check whether one-off designs or small runs are accepted before you commit to a supplier.
Is embroidery or printing better for branded workwear?
Embroidery suits durable uniform pieces such as polos, hoodies and jackets because stitched logos handle repeated washing and daily wear well. Printing, including DTF and screen printing, works better for large full-colour designs, fine detail and garments that cannot take dense stitching. Many businesses use both: embroidery for staff uniforms and printing for promotional apparel. The right choice depends on your logo, the garment and how often it will be worn.
How should I prepare a logo for embroidery?
Send the highest-resolution version you have, ideally a vector file such as AI, EPS or SVG. If only a JPG or PNG exists, a clean high-resolution copy can still be digitised. Avoid tiny text, thin lines and fine gradients, as these do not stitch cleanly at small sizes. Your supplier will convert the artwork into a stitch file and should send a preview for approval before production starts. Confirm thread colours against a chart rather than screen colours.
How can I care for embroidered workwear?
Wash embroidered garments inside out at a moderate temperature and avoid fabric conditioner, which can loosen stitching over time. Skip tumble drying where the care label allows and never iron directly over the embroidery; press on the reverse or use a cloth. Check care labels for each garment, since hi-vis and technical fabrics often have specific washing requirements. Following these steps keeps thread colour and stitch definition intact through repeated industrial washes.