 How-to
How to Choose Professional Uniform Branding
Last Updated: October 30, 2026
Quick Summary
To choose professional uniform branding, start by defining what the uniform must achieve, then match garments and decoration methods to each role and work environment. Keep colours, logo placement and sizing consistent across every garment, and check supplier samples before committing to a full order.
- Ask who sees the uniform, what it should say and what it must survive.
- Embroidery suits small chest logos on polos, shirts and fleeces for a durable finish.
- Screen printing is most cost-effective for large runs of simple, bold designs.
- Keep chest logos modest and in the same position on every garment.
- Wash samples at least three times and check for shrinkage, fade and logo wear.
Table of Contents
- Step 1: Define What Your Uniform Branding Must Achieve
- Step 2: Match Branded Workwear to Roles and Work Environments
- Step 3: Choose Garment Styles, Colours and a Coordinated Uniform Look
- Step 4: Decide Between Embroidered Workwear and Printed Workwear
- Step 5: Get Uniform Logo Placement and Size Right
- Step 6: Plan Sizing, Quantities and Staff Consultation
- Step 7: Budget for Total Cost, Care and Long-Term Durability
- Step 8: Check Supplier Quality, Samples and Consistency
- Frequently Asked Questions
Step 1: Define What Your Uniform Branding Must Achieve
Professional uniform branding starts with a clear purpose, not a logo file. Before you pick a single garment, decide what the uniform has to do for your business. Teams that skip this step often end up with branded workwear nobody wants to wear.
Ask three questions:
- Who sees the uniform? Customers, site visitors, or the public?
- What should it say about you? Reliable, modern, safety-first, premium?
- What must it survive? Daily wear, heavy handling, frequent washing?
A uniform is a working tool and a brand asset at once. Get the purpose right and every later decision gets easier.
Step 2: Match Branded Workwear to Roles and Work Environments
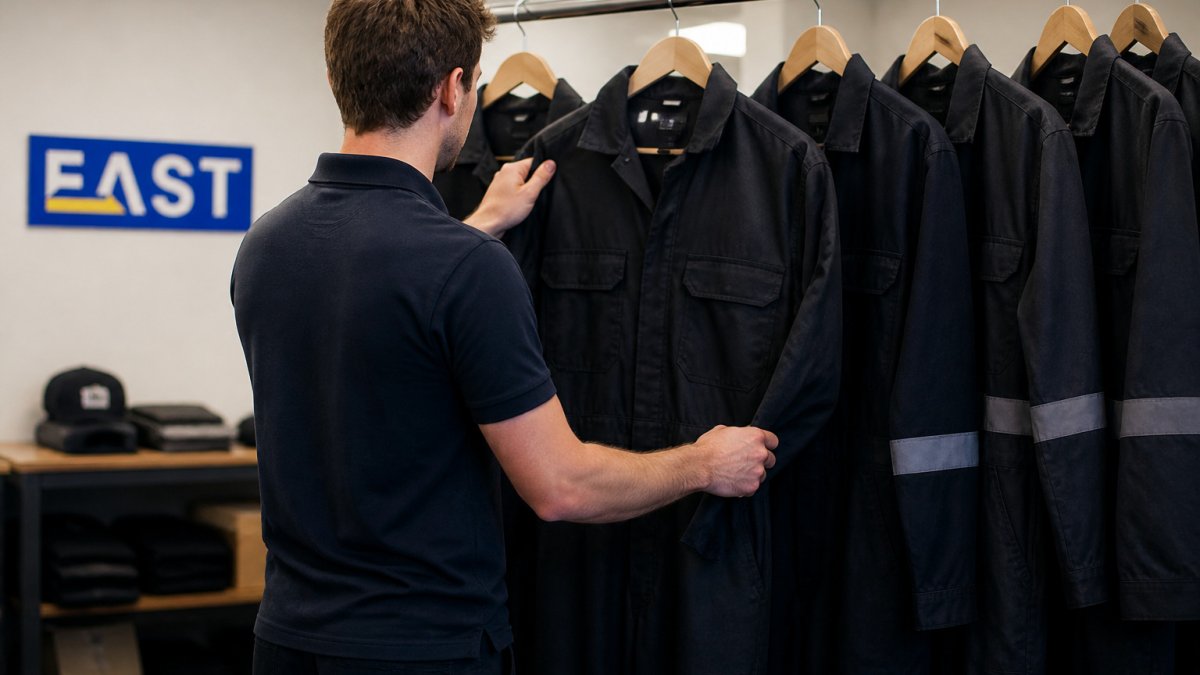
One uniform rarely fits every job. A customer-facing team needs a different look from a warehouse crew, and a trade team needs fabric that takes a beating.
Match garments to the work:
- Office and reception: polos, shirts, and soft-shell layers for a smart, approachable look.
- Trade and site work: hard-wearing fabrics, hi-vis where the site requires it, and reinforced seams.
- Events and promotions: lightweight printed tops that photograph well.
Fabric choice drives durability. GSM, weave and fibre content decide how a garment handles daily wear, so it pays to understand what you're buying.
Step 3: Choose Garment Styles, Colours and a Coordinated Uniform Look
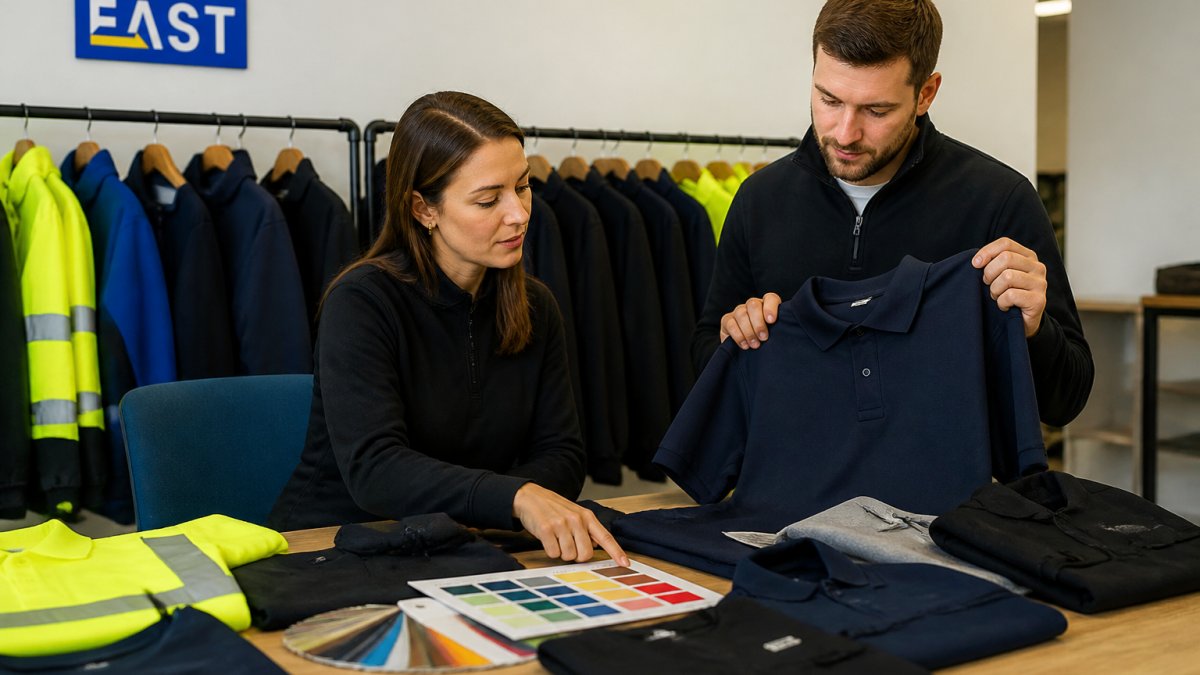
A coordinated uniform look beats a mismatched one every time. Pick a small colour palette drawn from your brand guidelines, then apply it consistently across every garment.
Keep the rules simple:
- Choose two or three brand colours and stick to them.
- Use contrast so logos stay visible on each garment.
- Decide the level of formality: smart, casual, or practical.
- Keep the silhouette consistent across departments.
A full uniform means everyone wears the same pieces. A coordinated look mixes garments that share colours and branding. The second option often suits teams with varied roles.
Step 4: Decide Between Embroidered Workwear and Printed Workwear
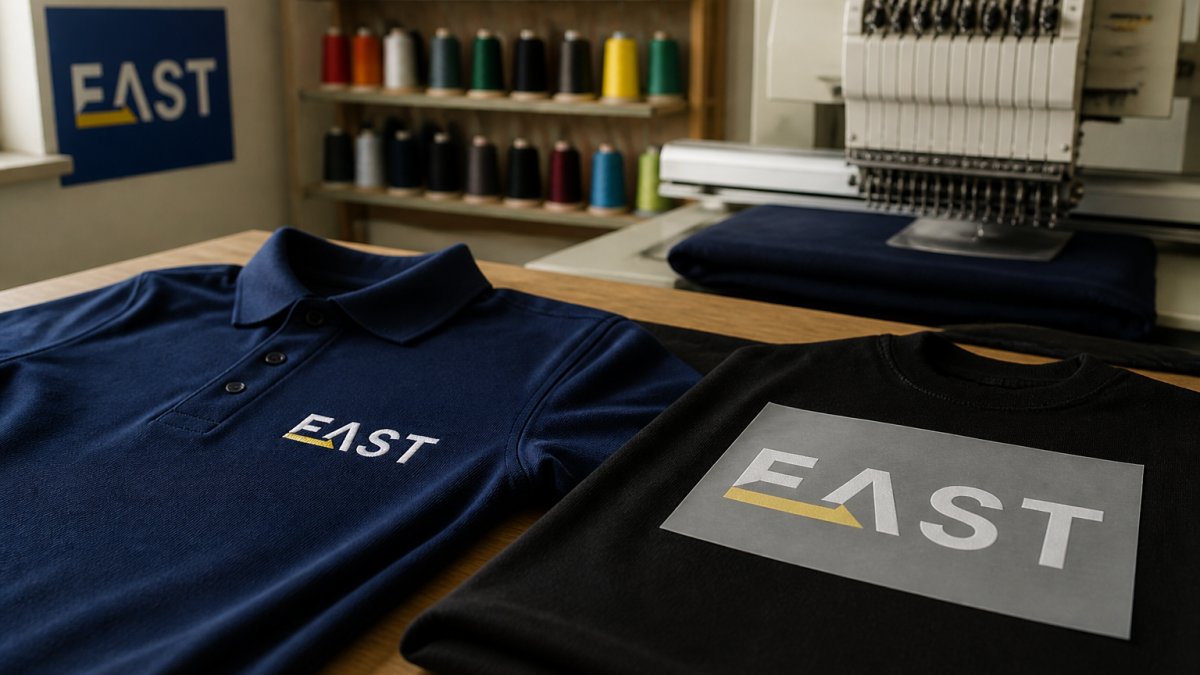
Decoration method changes how a uniform looks, feels and lasts. The right choice depends on your logo, your garments, your order size and how often the uniform is washed. Most teams compare embroidery and printing first, but there are four methods worth understanding before you commit.
Embroidery
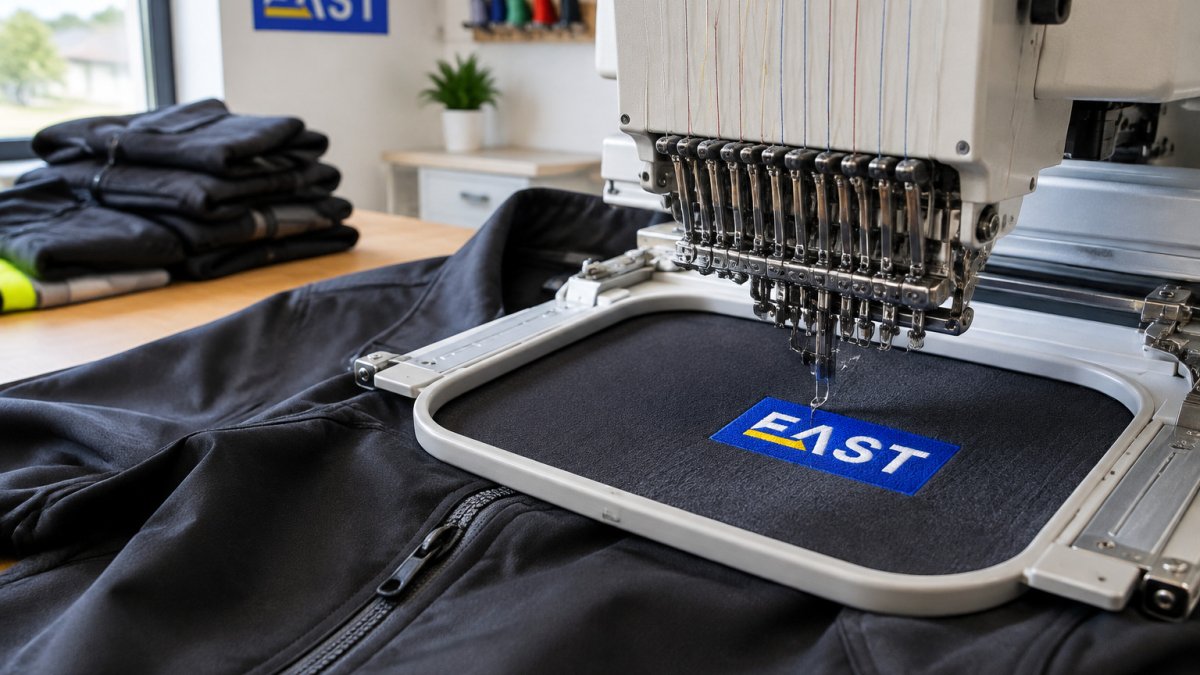
Embroidery stitches thread directly into the garment, so the logo becomes part of the fabric rather than sitting on top of it. It suits polos, shirts, fleeces, soft-shells and caps, and it handles small chest logos and simple wordmarks well. Because the stitching is physical, embroidery tends to outlast print through repeated washing and does not crack or peel.
Screen Printing
Screen printing pushes ink through a mesh screen onto the garment. It is the most cost-effective method for large runs of simple, bold designs, and it produces solid, opaque colours that hold up well on cotton and poly-cotton. Each colour in the design normally needs its own screen, so setup costs rise with colour count and short runs become expensive per unit. Screen printing works best on flat garments such as t-shirts and lightweight tops; it is less suited to fleeces, bags and areas with seams or zips.
DTF Printing
Direct-to-film (DTF) printing transfers a printed design onto the garment. It is a versatile option for detailed, full-colour images.
Heat Transfer Vinyl
Heat transfer vinyl (HTV) is cut from a coloured sheet and pressed onto the garment. It is ideal for single-colour names, numbers and simple shapes, and it is quick to apply for small quantities. HTV is less suited to complex multi-colour artwork and can peel at the edges over time if the garment is washed at high temperatures or tumble dried aggressively.
Choosing Between Them
A practical rule of thumb:
- Embroidery for company uniforms, small chest logos, polos, shirts, fleeces and a premium, durable finish.
- Screen printing for large orders of simple, bold designs on flat garments.
- DTF printing for detailed, full-colour artwork, smaller runs and synthetic fabrics.
If you are weighing specific methods, For a quote on embroidered or printed uniforms, email info@workweareast for a quote or visit Workwear East.
Step 5: Get Uniform Logo Placement and Size Right
Logo placement decides whether branding looks sharp or sloppy. Put the logo where people naturally look: left chest for most garments, and centred on the back for event or site wear.
Size and placement rules:
- Keep chest logos modest and consistent across garments.
- Match logo height to garment type, not to personal taste.
- Use the same position on every garment for visual consistency.
- Check visibility against each brand colour.
Small, well-placed logos read as professional. Oversized logos look cheap and can date fast.
Step 6: Plan Sizing, Quantities and Staff Consultation
Sizing problems and delays cost teams real downtime. Prevent both by consulting staff early and ordering with a buffer.
A simple plan:
- Collect sizes from every team member, including tall and plus-size fits.
- Add spares for new starters and replacements.
- Confirm lead times before you promise a launch date.
- Let staff try samples before the full order.
Staff input helps uniforms get worn. People wear uniforms that fit and feel comfortable.
Step 7: Budget for Total Cost, Care and Long-Term Durability
The cheapest uniform is rarely the best value. Budget for total cost: garments, decoration, spares, and care over the garment's life.
Care matters just as much for long-term value. Learn how to keep staff uniforms looking new over time. Compare embroidered and printed uniforms by lifespan and durability to see which method lasts longer.
| Cost factor | What to plan for | Impact on value |
|---|---|---|
| Garments | Correct quantity plus spares | Fewer emergency reorders |
| Decoration | Embroidery or print per item | Longer-lasting branding |
| Care | Washing and repair routine | Extends garment life |
| Replacements | Small annual buffer | Less downtime |
Step 8: Check Supplier Quality, Samples and Consistency
Supplier quality decides whether branding stays consistent across every garment and team. A cheap quote that produces uneven logos, late deliveries or inconsistent sizing costs more in the long run than a slightly higher price from a supplier who gets it right first time. Use the checklist below before you place a large order.
Samples and Pre-Production
- Ask for a sample of each garment type before a full order.
- Check stitch density on embroidery, ink coverage on prints and edge quality on transfers.
- Wash the sample at least three times at the temperature your team will use and inspect for shrinkage, colour fade and logo wear.
- Confirm the sample matches the specification you approved in writing.
Consistency and Quality Control
-
Ask how the supplier controls logo size and placement across garments and repeat orders.
-
Check stitching, seams, zips and trims on a sample from each production batch.
-
Agree a defect process: who inspects, what counts as a fault, and how replacements are handled.
Lead Times and Reorders
- Get written lead times for first orders and reorders, and build a buffer before any launch date.
- Ask how quickly they can supply spares for new starters and replacements.
Ethical and Practical Sourcing
- Ask where garments are made and whether the supplier can evidence ethical sourcing on request.
- Confirm fabric composition and care instructions are supplied with every garment.
A Single Point of Contact
A named contact who knows your account makes queries, reorders and defect claims far easier. Consistency is what makes a uniform look like a brand, not a collection of odd tops. For help choosing a supplier and building a consistent uniform programme, email info@workweareast for a quote or visit Workwear East.
Frequently Asked Questions
Which is better for uniforms: embroidery or printing?
It depends on the garment and the design. Embroidered workwear suits polos, fleeces and jackets because the stitching is part of the fabric and gives a professional finish. Printed workwear, using DTF or screen printing, handles full-colour artwork and fine detail. Many businesses combine both: embroidery on the chest, print on the back. Ask for a sample of each on the actual fabric before committing, and check how the decoration behaves after several washes.
Where should a logo be placed on a work uniform?
The left chest is the standard position for uniform logo placement because it sits at eye level and reads clearly without dominating the garment. Other common spots include the right chest for a second mark, the sleeve, the back for large-scale branding, and the nape for a small tag-style logo. Keep placement consistent across every garment and department so staff look like one team. Avoid placing logos over seams, pockets or zip lines, where stitching distorts and print cracks.
How do I keep branded workwear consistent across a team?
Set a written branding standard before you order: exact logo files, colour references, size in millimetres, placement position and approved garment list. Give that document to your supplier and keep it on file for reorders. Use one supplier for all departments so thread colours, print shades and garment dyes match between batches. If you run multiple sites, order in a single production run where possible, and check a sample from each batch against the standard before the rest of the order is decorated.
How do I choose the right uniform branding for my business?
Start with the job, not the logo. A trade team needs durable fabric and high-visibility options, while customer-facing staff need a smarter, more formal look. Then match colours to your brand guidelines, choose embroidery or printing based on the artwork, and settle logo placement and size. Factor in sizing across your whole team and the total cost over the garment's life, not just the unit price. Email info@workweareast for a quote and samples before you place a full order.