 How-to
How to Get a Logo Embroidered on Workwear Step by Step
Quick Summary
Logo embroidery is the process of stitching a design directly into fabric with thread instead of printing ink onto it. Workwear East digitises your logo into a stitch file, hoops the garment with stabiliser, then stitches each colour in turn before trimming and checking the finish.
- Send vector files such as AI, EPS, SVG or PDF where possible for the cleanest stitching.
- Keep text at least 5-6mm cap height and lines at least 1mm thick so they stitch clearly.
- Ask for a digital proof or a stitch-out on the actual fabric before approving production.
- Fewer thread colours lowers both stitch time and unit price.
- Email info@workweareast.co.uk for a quote, and visit https://www.workweareast.co.uk/ to browse options.
Table of Contents
- What Logo Embroidery Is and How It Works
- Preparing Your Logo Artwork and File Format
- Choosing the Right Embroidered Logo Placement
- Logo Embroidery vs Printing: Which Suits Workwear Better
- Fabrics, Garments and Setup Choices That Affect the Result
- Common Logo Embroidery Problems and How to Avoid Them
- How to Care for Embroidered Workwear So It Lasts
- Ordering Your Branded Workwear: Next Steps
- Frequently Asked Questions
What Logo Embroidery Is and How It Works
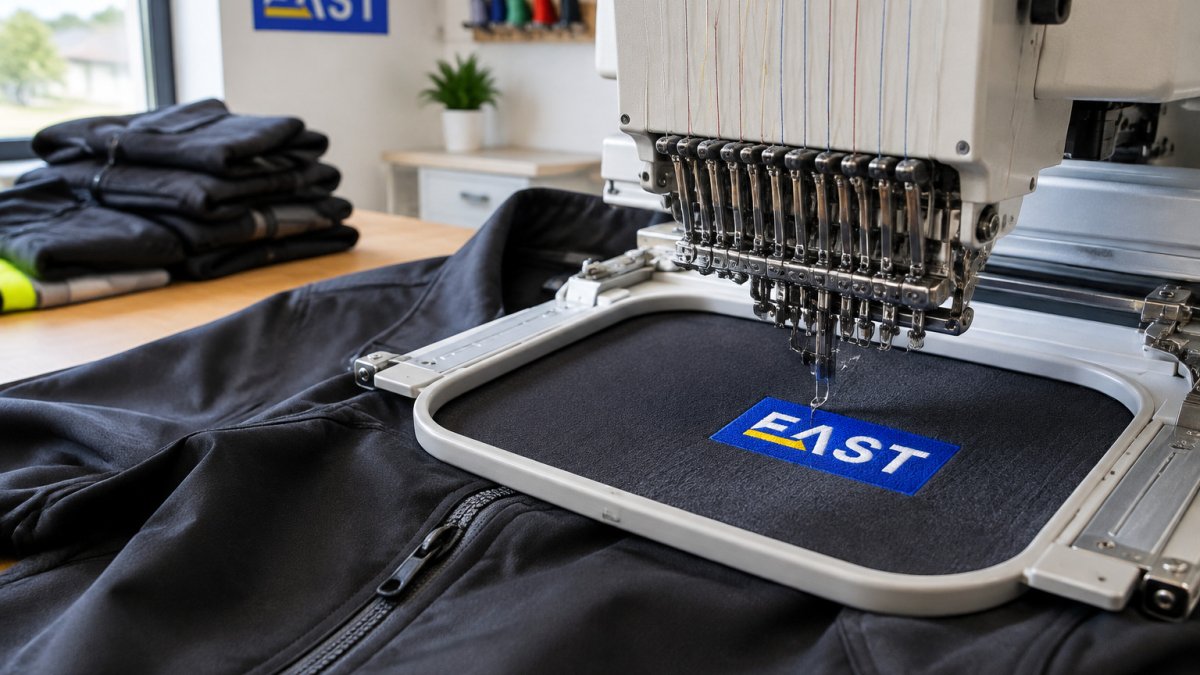
Logo embroidery is the process of stitching a design directly into fabric using thread, rather than printing ink onto the surface. For workwear, it is one of the most durable ways to show a company name or logo, because the design becomes part of the garment itself. Workwear East offers embroidery alongside DTF printing and screen printing for workwear.
The process starts with a digital embroidery file. A machine reads that file and moves a needle across the fabric, laying down thread stitch by stitch in the right colours and order.
Here is what the process involves in simple steps:
- Digitising: The logo artwork is converted into a stitch file the machine can read.
- Hooping: The garment is held tight in a frame, with a stabiliser underneath to stop puckering.
- Stitching: The machine embroiders each colour in turn.
- Finishing: Loose threads are trimmed and the garment is checked for quality.
Embroidery suits workwear well because the stitching is built into the fabric, which makes it a durable option for everyday wear.
Preparing Your Logo Artwork and File Format
Good embroidery starts with good artwork. Contact Workwear East at info@workweareast.co.uk to discuss your logo and file requirements before ordering.
File formats that work best
Send vector files wherever possible. They scale without losing sharpness and give the digitiser clean anchor points for stitching paths.
- Vector files (AI, EPS, SVG, PDF): Best for accurate line work and clean edges. PDFs should be exported from vector software, not scanned.
- High-resolution PNG: Acceptable if it has a transparent background and is at least 300 dpi at the final embroidery size. A 300 dpi image at 80mm wide needs roughly 945 pixels across.
- Simple JPG: Usable for reference, but may need redrawing before digitising. Avoid JPGs with compression artefacts around text.
If you only have a low-resolution image, a digitiser can redraw it, but expect additional setup time and a possible artwork charge. Always ask for a quote before assuming a redraw is included.
What digitising actually involves
Digitising is not a simple file conversion. A skilled digitiser makes several decisions that affect how the logo looks and wears:
- Stitch type: Satin stitch for lettering and borders (dense, raised, reflective), fill stitch for larger areas (flatter, more flexible), and run stitch for fine details or outlines. A logo with small text might use satin for the letters and a run stitch for a thin underline.
- Underlay: A base layer of stitches that stabilises the fabric before the visible stitching goes down. Underlay prevents puckering and gives the top stitches something to grip. Without it, thin fabrics distort.
- Pull compensation: Fabric pulls slightly during stitching, so digitisers add a fraction of a millimetre to the design's edges to keep proportions correct. This is why a digitised circle often looks slightly oval on screen.
- Colour sequence: The machine stops between thread colours. A design with many colour changes takes longer to stitch and costs more. Reducing colours, or using a single-colour logo, lowers both stitch time and unit price.
Design rules for embroidery
Embroidery is not printing. Fine lines, gradients, and tiny text behave differently once stitched.
- Minimum text size: Most practitioners find that text smaller than 5mm cap height becomes unreadable when stitched. For very fine fonts, 6mm or larger is safer. If your logo has a tagline, consider dropping it from the embroidered version.
- Line thickness: Lines thinner than 1mm may disappear or break. Increase stroke weight before digitising.
- Gradients and photographs: These cannot be stitched directly. They must be simplified into solid colour blocks or replaced with a flat version of the logo.
- Negative space: Gaps in the design (such as the inside of a letter) need enough room for the fabric to show through. Very tight negative spaces fill in with thread.
Sizing and proofing
Tell us the exact size you want the logo to be on the garment. A logo that works at 80mm wide may become muddy if it is shrunk to 30mm. Before production, ask for a digital proof showing the stitch layout, colour sequence, and size on a garment template. A physical stitch-out on the actual fabric is even better for critical branding, it costs less than fixing a whole batch.
Watch out: A logo that looks crisp on screen can stitch poorly if the digitiser has not adjusted for the fabric. Always approve a proof on the same fabric type you plan to use.
Choosing the Right Embroidered Logo Placement
Placement changes how a logo looks and how well it wears. Common placements for workwear include the left chest and the back.
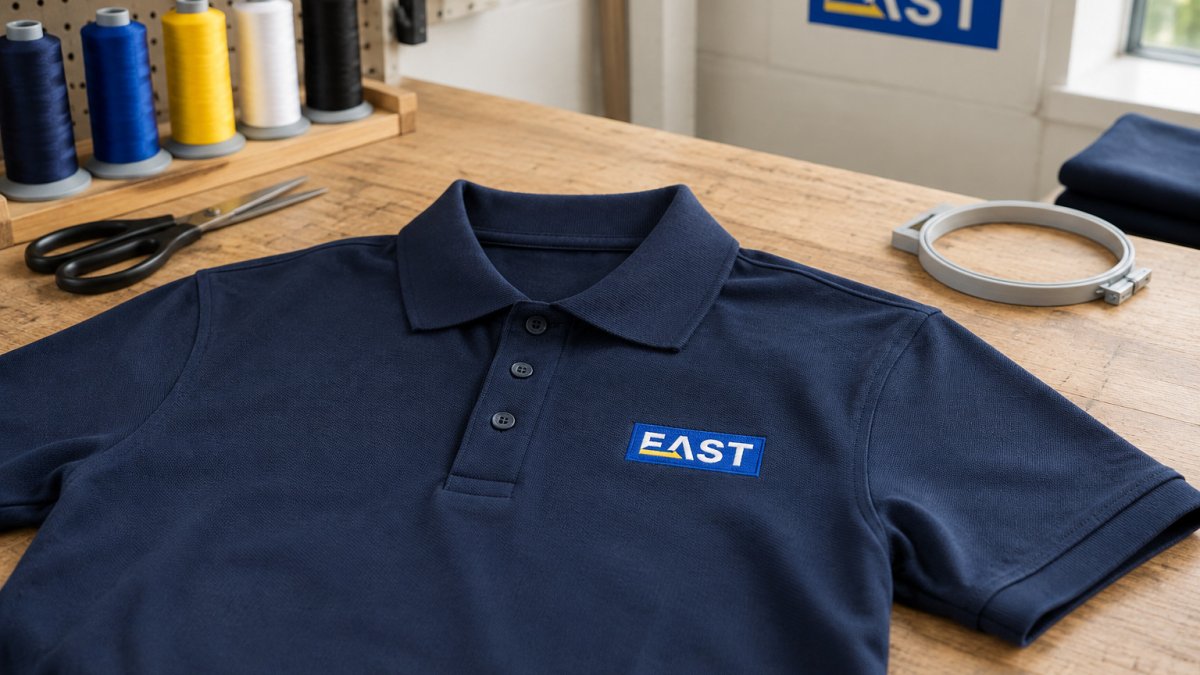
Think about where the garment will actually be worn. Sleeves and lower hems take more knocks, so designs there can wear faster. Avoid placing a logo where a seam, pocket or zip will cross it, because that can distort the stitching. To compare embroidery, printing and placement options for your uniform branding, see how to choose professional uniform branding.
Logo Embroidery vs Printing: Which Suits Workwear Better
For many workwear applications, embroidery is a durable choice because the stitching sits within the fabric.
Printing can suit some designs, and Workwear East offers DTF printing and screen printing.
As a simple guide:
| Method | Best for | Durability | Detail level |
|---|---|---|---|
| Embroidery | Workwear, polos, jackets | Very high | Medium |
| DTF printing | Full-colour designs | High | High |
| Screen printing | Large, simple runs | Good | Medium |
Fabrics, Garments and Setup Choices That Affect the Result
The fabric you choose affects how well the logo sits and how long it lasts. For a direct look at how embroidered and printed logos hold up over repeated washing, read our durability comparison.
Setup choices also make a difference:
- Stitch density: Too dense and the fabric puckers. Too light and the logo looks thin.
- Stabiliser: The right backing keeps the fabric steady during stitching.
- Thread quality: Good thread holds colour and resists fading in the wash.
Common Logo Embroidery Problems and How to Avoid Them
Most embroidery problems come from setup rather than the machine itself. Knowing what to look for, and what causes each defect, helps you spot issues before they reach your team. The table below covers the most frequent complaints, their likely causes, and practical fixes.
| Problem | What you see | Likely cause | Fix |
|---|---|---|---|
| Puckering | Fabric bunches around the stitching | Wrong stabiliser, density too high, or fabric not hooped tightly | Use a heavier cut-away stabiliser; reduce stitch density by 10-15%; re-hoop with more tension |
| Thin or broken lines | Fine details fill in or disappear | Stitch density too low, thread too thick, or artwork too detailed for the size | Increase density slightly; use a finer thread (e.g. 60-weight); simplify the artwork or enlarge the logo |
| Colour mismatch | Thread looks different from the screen | Screen colours are RGB; thread is physical and dye-lot dependent | Request a physical thread sample or a stitch-out on the actual fabric before approving |
| Loose threads | Untrimmed thread tails on the front or back | Poor finishing or skipped trim cycle | Check the back of the design before accepting; ask for a finishing check |
| Registration error | Colours misalign at edges | Hooping shift between colour changes or design not centred | Ensure the garment is hooped consistently; ask for a pre-production sample |
| Needle holes or fabric damage | Visible holes along stitch lines | Needle too large for the fabric or stitch too dense | Use a smaller needle (e.g. 70/10 for lightweight fabrics); reduce density |
| Unreadable small text | Letters merge together | Text below minimum size or font too fine | Increase text size to at least 5-6mm cap height; switch to a bolder font |
Stabiliser and needle choices that prevent problems
Stabiliser is the backbone of clean embroidery. For stable woven fabrics like cotton drill and polycotton, a medium-weight cut-away stabiliser (around 50-60g) is usually sufficient. For stretchy knits, a fusible or heavier cut-away stabiliser prevents the fabric from stretching during stitching. Tear-away stabiliser is fine for stable fabrics but can distort on stretchy ones.
Needle size matters too. A 75/11 needle is a good all-round choice for most workwear fabrics. For lightweight or fine-knit garments, a 70/10 needle creates smaller holes and reduces fabric damage. For heavy fabrics like canvas or denim, a 90/14 needle prevents deflection.
When to ask for a sample stitch-out
If you are unsure about the result, contact Workwear East at info@workweareast.co.uk to discuss your order before production.
How to Care for Embroidered Workwear So It Lasts
Embroidery lasts well with simple care. Wash garments inside out at a moderate temperature, and avoid high heat in the dryer, which can flatten the stitching and dull the thread.
- Turn the garment inside out before washing.
- Use a gentle detergent and avoid bleach.
- Tumble dry on low or hang to dry.
- Iron the back of the design, not the front, if needed.
Good care makes a noticeable difference. A logo that is washed carefully can look sharp for years.
Ordering Your Branded Workwear: Next Steps
To order, contact Workwear East to discuss your garments, logo size, position and colours.
Pricing depends on quantity, delivery dates and the number of colours in the design, so the most accurate figure comes from a quote. Visit https://www.workweareast.co.uk/ to browse workwear bundles, branded polo shirts and hi-vis options, or email info@workweareast.co.uk for a quote tailored to your team.
Frequently Asked Questions
How does logo embroidery work?
Logo embroidery uses a computer-controlled machine to stitch a design directly into fabric with coloured thread. Because the design is built from thread rather than ink, it sits in the fabric itself. Pricing depends on quantity, design size, stitch count and delivery, so contact Workwear East at info@workweareast.co.uk for a quote.
What file format is best for an embroidered logo?
Vector files such as AI, EPS or SVG are the most useful starting point for a logo, because they scale without losing sharpness. Vector files such as AI, EPS or SVG are a useful starting point for a logo. If you are unsure which file to send, email info@workweareast.co.uk and ask before you order.
Can any logo be embroidered onto workwear?
Very fine lines, small text and heavy gradients may need simplifying for embroidery. Detailed photographs and soft shading may suit printing better. Send your logo to info@workweareast.co.uk for a quote and an assessment of how it will stitch.
How do you wash embroidered workwear?
Embroidered garments are generally best washed inside out and dried with care.