 How-to
How to Order Printed Hi Vis Workwear That Lasts
Last Updated: October 25, 2026
Quick Summary
Order printed hi vis by choosing the garment for the task first, then confirming it meets EN ISO 20471, then selecting a decoration method and artwork that keep all reflective tape clear. Send vector artwork sized to the real print area, order to a measured size breakdown with spares, and wash inside out at a moderate temperature with no fabric softener or tumble drying.
- Match the garment to the task before considering branding, since the wrong style causes more reordering than print issues.
- Never cover, break or crowd reflective tape, and keep print a clear margin from every band.
- Screen printing suits larger runs of simple designs, while DTF handles full-colour detail on smaller or mixed orders.
- Add roughly one spare per ten garments in the sizes you use most, and record the breakdown for repeat orders.
- Wash inside out at a moderate temperature, skip fabric softener and never tumble dry to protect the print.
Table of Contents
- Why Printed Hi Vis Needs a Different Approach to Branding
- Choosing Personalised Hi-Vis Vests, Jackets and Tabards
- Hi-Vis Printing Methods Compared: DTF, Screen Printing and Embroidery
- Hi-Vis Logo Placement That Keeps You Seen and Compliant
- Preparing Hi-Vis Workwear Artwork Before You Order
- Sizing, Order Quantities and Managing a Whole Team
- Caring for Printed Hi Vis So the Logo Survives the Wash
- Get a Quote for Your Branded Hi-Vis Order
- Frequently Asked Questions
Why Printed Hi Vis Needs a Different Approach to Branding
Printed hi vis is not like branding a polo shirt. The garment has to keep the wearer visible and survive mud, diesel, rain and industrial washing.
None of this is difficult to avoid. It just needs the right order of decisions: garment first, compliance second, decoration third, artwork last.
If you are new to hi-vis entirely, our complete hi-vis workwear buying guide covers the standards and garment types in more depth before you get to branding.
Choosing Personalised Hi-Vis Vests, Jackets and Tabards
Personalised hi-vis vests, jackets and tabards each suit a different working day, and picking the wrong one causes more reordering than any print issue. The useful question is not which looks best with your logo, but which your team will actually wear for a full shift.
Waistcoats are the default for site work and visitors. You can see a printable safety softshell jacket that meets the standard and is ready to brand.
A Task-Based Selection Guide
Use this to narrow the choice before you look at print options:
- Construction and trade, summer: sleeved waistcoat or tabard in a lighter fabric; the print sits on the chest and back panels, away from the tape.
- Construction and trade, winter: a sleeved jacket or bodywarmer with a waterproof membrane, worn over base layers. Check that the jacket is sized to layer, not sized to fit like a shirt.
- Events, promotions and retail: tabards give the largest uninterrupted print area and are quick to swap between staff. They are also the easiest garment to brand heavily without touching reflective tape.
- Warehouse and logistics: lightweight waistcoats on a rolling replacement cycle, because forklift and racking abrasion wears garments out faster than washing.
- Multi-site teams: one core style across all sites so replacements always match, even when a new starter joins months later.
- Visitors and contractors: a stock of plain waistcoats in mixed sizes, branded once with a generic company mark, kept at reception.
Layering and Fit Considerations
Hi-vis is almost always worn over something else, so size for the layer beneath. A winter jacket that fits over a t-shirt will not close over a fleece.
Fabric weight matters too. Lightweight waistcoats are comfortable in warm weather but abrade quickly against scaffolding and racking. Heavier woven fabrics last longer but feel stiff on a hot day. There is no single right answer, only the trade-off your team will tolerate.
Once the garment is right, the print method and placement follow. If you are unsure which style suits your team, email info@workweareast for a quote and we will talk through the options against your actual working conditions.
Hi-Vis Printing Methods Compared: DTF, Screen Printing and Embroidery
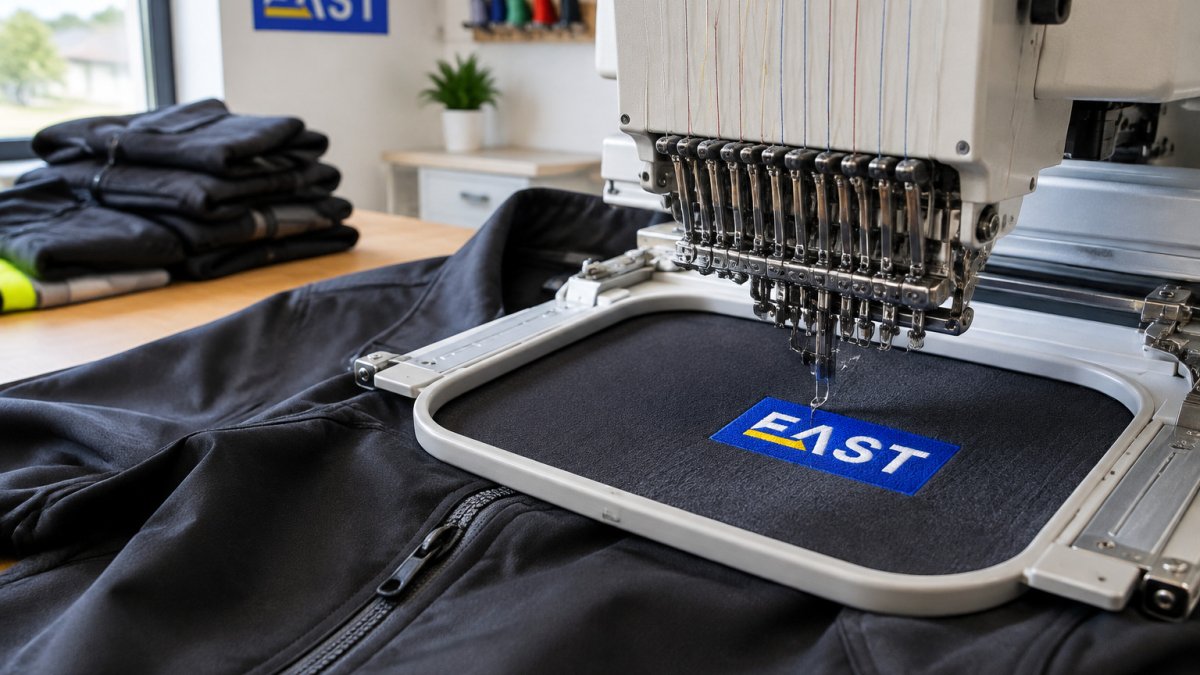
Three methods cover almost every hi-vis job: DTF printing, screen printing and embroidery. DTF gives full-colour detail on awkward fabrics, screen printing wins on large runs of simple designs, and embroidery is the most durable for text and badges.
Health and Safety Executive guidance on PPE at work is clear that protective equipment must remain fit for purpose, which is why decoration method is a compliance question, not just a cosmetic one.
| Method | Best for | Detail level | Durability | Sensible order size |
|---|---|---|---|---|
| DTF printing | Full-colour logos, photos, gradients | High | Good, if washed correctly | Small to medium |
| Screen printing | Simple, bold designs in few colours | Medium | Very good | Larger runs |
| Embroidery | Text, badges, chest logos | Medium | Excellent | Any |
Which Method Suits Which Design
Use DTF for gradients, multiple colours or fine detail, and when you need the same result across fabric types. Choose screen printing when the design is flat and bold and the order justifies setup. Pick embroidery when the logo is text-based, sits on a chest or sleeve, and must survive years of industrial laundering.
For a deeper side-by-side, read our breakdown of DTF versus screen printing before you commit.
Hi-Vis Logo Placement That Keeps You Seen and Compliant
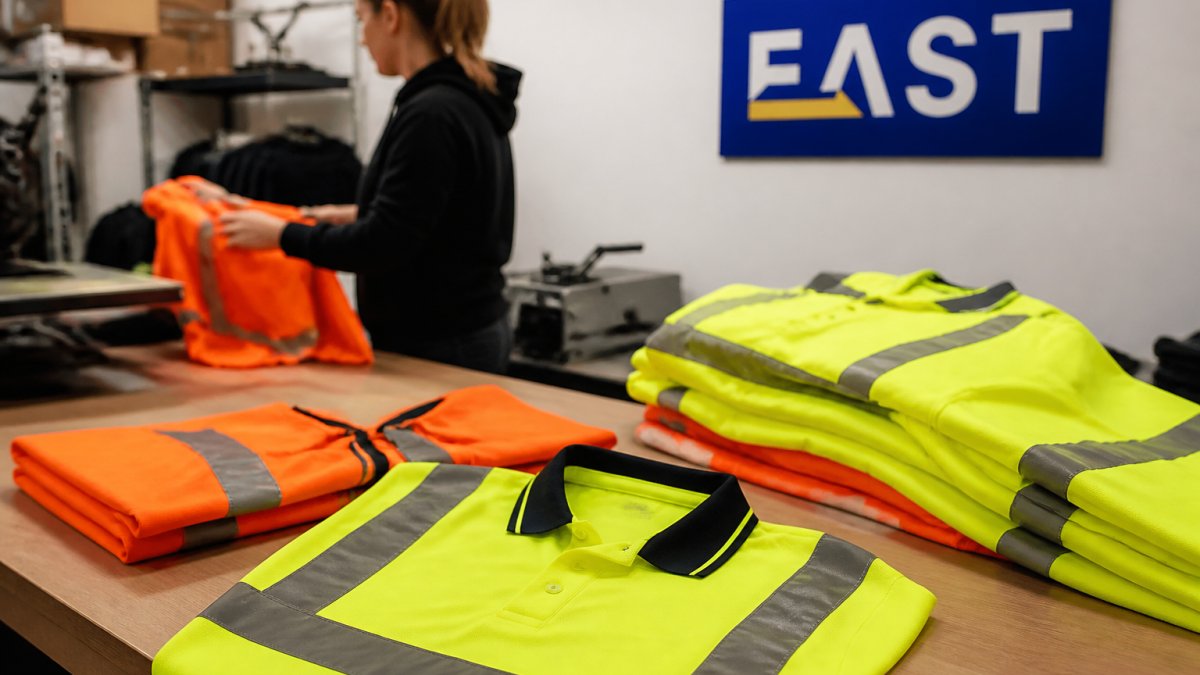
Logo placement on hi-vis is governed by one rule: never cover, break or crowd the reflective tape. Put your branding on the chest, back or sleeve panels and leave the retroreflective bands completely clear.
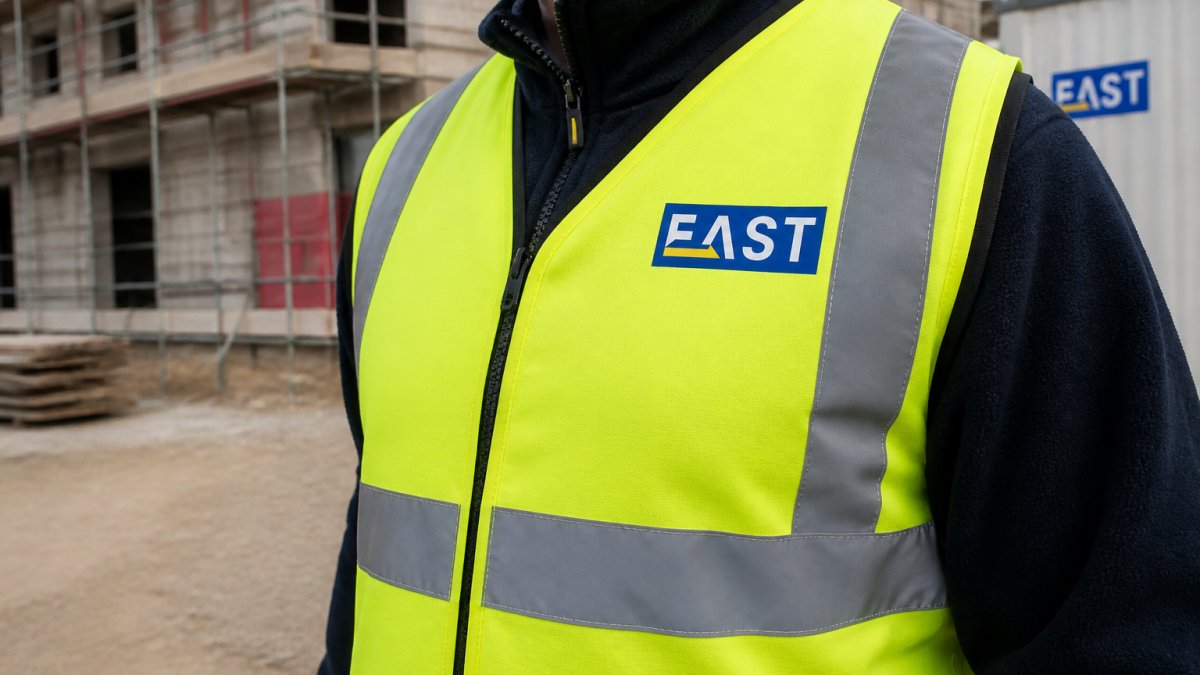
The standard behind this is EN ISO 20471, which sets out how hi-vis garments are classified and how much visible material must show.
Practical rules we give customers:
- Keep print at least a clear margin away from every reflective band
- Put the company name on the left chest, the full logo on the back
- Avoid dark print on the brightest yellow or orange panels
- Check the finished sample against the standard before the full run
Preparing Hi-Vis Workwear Artwork Before You Order
Good hi-vis workwear artwork saves days. Send vector files where you have them, size the design to the actual print area, and confirm colours against the garment, not your screen.
Most delays come down to artwork, not production.
Before you send anything, work through this checklist:
- Vector file supplied (AI, EPS, PDF or SVG) where available
- High-resolution PNG at 300dpi as a fallback
- Design sized to the real print area, not stretched to fit
- Colour references confirmed for yellow and orange garments
- Reflective tape zones marked and left clear
- Garment style, colour and size breakdown listed
- Print placement confirmed per garment
Watch out: sending a low-resolution logo and asking us to "make it work" is the single most common cause of a reprint. It also delays your dispatch date.
Sizing, Order Quantities and Managing a Whole Team
Sizing is where most branded uniform orders go wrong, and it has nothing to do with printing. Order to a measured size breakdown, add spares in the middle sizes, and keep a record so repeat orders match, one order that covers the team without a cupboard full of odd sizes.
Building a Size Breakdown That Works
A proper size survey beats guessing. Hi-vis is worn over other clothing, so a medium t-shirt does not mean a medium waistcoat.
A practical pattern for most teams:
- Collect sizes for every named wearer, not a guessed average
- Add roughly one spare per ten garments in the sizes you use most
- Hold a small buffer of the two middle sizes for new starters
- Record the size breakdown against the order so repeat orders match exactly
For a team of twenty, that typically means ordering twenty-two or twenty-three garments rather than a flat twenty. The extra cost is small next to the cost of a reprint or a second delivery for one missing size.
How Order Size Affects Print Method and Cost
Order quantity and print method are linked. Screen printing carries a setup cost per colour, so it suits larger runs of simple designs.
The variables that move the final price are garment type, print coverage, number of colours, placements and total quantity. A single-colour chest logo on a hundred waistcoats is a very different job from a full-colour back print on fifteen jackets.
Managing Repeat Orders and New Starters
For larger organisations, a workwear portal keeps this manageable: staff order their own sizes against an agreed list while you keep control of branding and budget. Keep a master record of garment style, colour, print placement and size breakdown so a repeat order six months later produces an identical garment, not a near match.
If you are ordering for a mixed team, our branded polo shirts work well alongside hi-vis for office and site-office staff, so one order can cover everyone.
Email info@workweareast for a quote with your size breakdown and artwork, and we will confirm quantities, method and lead time before anything goes to print.
Caring for Printed Hi Vis So the Logo Survives the Wash
Wash printed hi vis inside out at a moderate temperature, skip fabric softener and never tumble dry, and the print will outlast the reflective tape.
The question we hear most is about logos cracking and peeling after a few washes. That almost always traces back to washing too hot, drying on a radiator, or scrubbing the print directly.
- Wash inside out, moderate temperature, short cycle
- No fabric softener, which breaks down the print bond
- Hang dry or line dry, never tumble
- Keep hi-vis separate from abrasive workwear
- Inspect reflective tape at the same time as the print
For evidence on which decoration method survives laundering best, see our comparison of embroidered versus printed logo durability.
Get a Quote for Your Branded Hi-Vis Order
Ready to order printed hi vis for your team? Send us your logo, garment list and size breakdown, and we will come back with a quote and a realistic lead time.
We work with businesses across the region on embroidery, DTF printing and screen printing, and we will tell you honestly which method suits your design. Email info@workweareast for a quote with your artwork attached, or use our quick quote form for branded workwear and embroidery.
You can also browse the full hi-vis range and our workwear bundles to build your order before you get in touch.
Getting branded hi-vis right takes a few careful decisions: the right garment, a print method that suits the design, and artwork that respects the reflective tape.
Frequently Asked Questions
Can you print a logo on hi-vis clothing?
Yes. Printed hi vis is routine, and the main methods are DTF printing, screen printing and embroidery. What matters is where the print goes: keep it off the reflective tape and away from the areas that make the garment visible. Print on the chest, back or lower panels and the garment's high-visibility performance is unaffected. Workwear East can advise on placement for vests, jackets and tabards, and you can email info@workweareast for a quote.
What printing method is best for hi-vis workwear?
It depends on the design. DTF printing handles detailed, full-colour logos and works well on the synthetic fabrics hi-vis garments use. Screen printing is cost-effective for large runs of simple designs in a few colours. Embroidery suits text and simple marks on polos and jackets but is rarely used across large hi-vis panels. For most branded hi-vis vests with a detailed company logo, DTF is the practical choice.
Can hi-vis clothing be washed after printing?
Yes, but how you wash it decides how long the print lasts. Turn the garment inside out, wash at a low temperature and avoid biological powders and fabric softener. Tumble drying and ironing directly over the print are the usual causes of cracking and peeling. Follow the care label and the print should stay sharp through repeated industrial washing cycles.
What artwork file is best for printing a hi-vis logo?
Send a vector file such as SVG, EPS or PDF wherever possible, because it scales without losing sharpness. If you only have a JPG or PNG, make sure it is high resolution and on a plain background. Include the exact colours you want, ideally as Pantone references, and confirm the finished print size in millimetres. Good hi-vis workwear artwork saves a proofing round and gets your order moving faster.