 How-to
Embroidered Workwear Suffolk: A Practical Guide
Table of Contents
- Embroidered Workwear Suffolk: What to Order and Why
- Workwear Embroidery and Printing: Choosing the Right Method
- How to Prepare a Logo for Embroidery
- Embroidered Work Shirts, Polos and Teamwear
- How to Order Embroidered Workwear for a Team
- How to Care for Embroidered Workwear
- Pricing, Turnaround and Getting a Quote
- Frequently Asked Questions
Last Updated: October 19, 2026
Embroidered Workwear Suffolk: What to Order and Why
Embroidered workwear does more than label a team, it changes how customers read a company before a word is spoken.
The stakes are higher than they look. A branded polo that fades after a dozen washes, or a logo that arrives stitched three centimetres off-centre, costs money twice: once at purchase, and again when you replace it.
Below, we break down exactly how to choose, prepare and order embroidered workwear, including the logo files that actually work and the mistakes that cause most reprints.
Workwear Embroidery and Printing: Choosing the Right Method
The right decoration method depends on your logo, your fabric and how hard the garment will work. Embroidery suits durable, professional branding on polos, shirts, hoodies and jackets. Printing suits complex multi-colour artwork and large front or back designs.
Here is how the two compare in practice:
| Factor | Embroidery | Printing |
|---|---|---|
| Best for | Logos on polos, shirts, jackets | Large or multi-colour graphics |
| Durability | Outlasts the garment in most cases | Good, but can crack if applied poorly |
| Detail limit | Fine text and gradients are difficult | Fine detail and gradients reproduce well |
| Feel | Raised, textured stitch | Flat against the fabric |
| Typical use | Corporate uniforms, trade clothing | Promotional apparel, event teamwear |
A common mistake is choosing print for a small chest logo simply because it is cheaper per unit. On a work shirt that gets washed weekly, embroidery usually wins on lifespan. For large back prints or photographic designs, printing is the only sensible option.
Many orders mix both: embroidered chest logos with a printed back panel. We handle that combination regularly.
How to Prepare a Logo for Embroidery
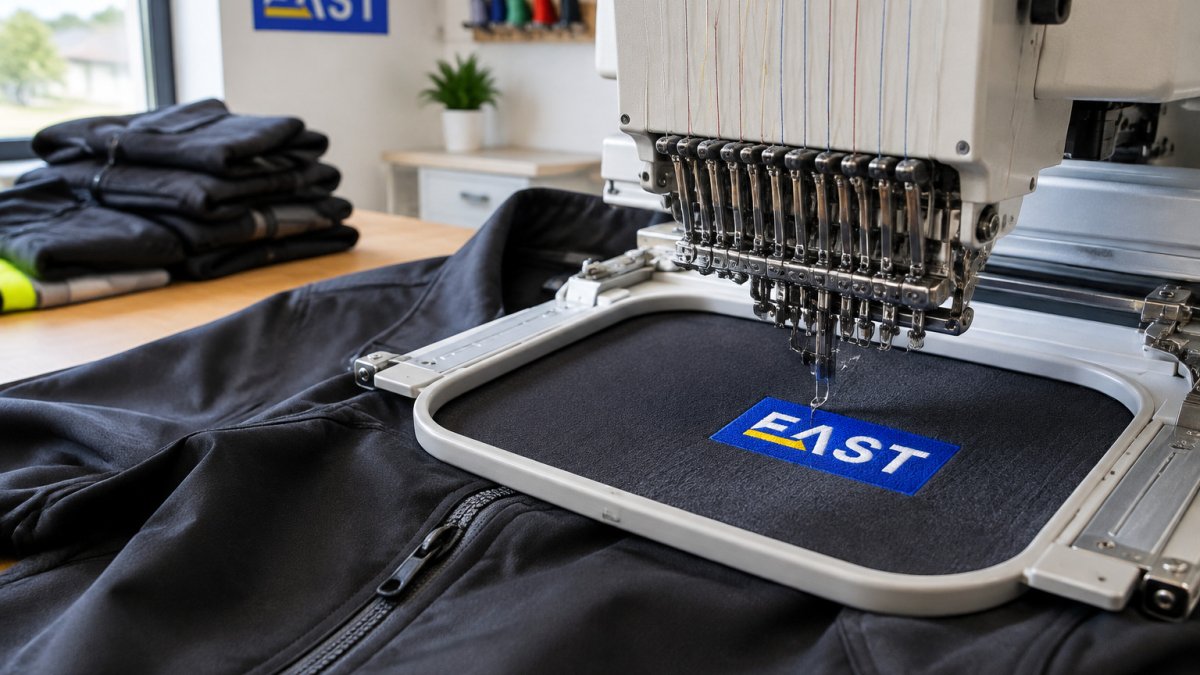
Preparing a logo for embroidery means converting artwork into a stitch file the machine can follow. That process, called digitising, determines whether the finished logo looks sharp or muddled. Send us the best-quality file you have and we will tell you what is achievable before any production begins.
File Formats and What a Stitch Plan Needs
Vector files are ideal. An EPS, AI or PDF file scales cleanly and gives the digitiser precise edges to work from. High-resolution PNG or JPG files can work, but only if they are large and clean, not a screenshot pulled from a website.
What a stitch plan actually needs:
- Clean, solid shapes with clear boundaries
- Text large enough to stitch legibly
- A limited number of colours, ideally separated clearly
- No fine gradients or drop shadows
- Consistent line weights rather than hairline strokes
Small text is the most common problem. Below roughly a few millimetres in height, lettering starts to close up and blur. If your logo includes a strapline, we will often recommend dropping it from the embroidered version and keeping the main mark only. The same applies to registered trademarks or legal text, these rarely survive at chest-logo scale.
How Stitch Count and Logo Size Affect the Result
Stitch count is the number of individual stitches the machine sews to produce your logo. It is driven by the logo's size, the density of its fills and the number of colours. A larger logo, or one with thick solid areas, uses more stitches and therefore takes longer to produce.
Logo size matters in both directions. Too small and fine detail collapses; too large and the embroidery can pucker the garment or feel stiff against the skin. For most chest logos, a width of around 8-10 cm sits comfortably on a polo or shirt.
Where Embroidery Reaches Its Limits
Embroidery is not a photocopier. It cannot reproduce photographic images, soft gradients or very fine detail. These limits are worth knowing before you promise a design to your team.
- Gradients: a colour fading from dark to light cannot be stitched smoothly. It becomes banded blocks of thread.
- Very fine lines: hairlines thinner than a standard stitch width will break up or disappear.
- Tiny text: as above, legibility drops sharply at small sizes.
- Complex multi-colour artwork: each colour adds a thread change, which adds cost and time.
- Photographic or textured artwork: faces, landscapes and soft shading cannot be reproduced faithfully in thread.
If your logo falls into these categories, we will suggest a simplified embroidery version or recommend printing instead. That conversation happens before production, not after.
If you are unsure whether your artwork is suitable, email info@workweareast with the file and we will review it and advise on the best approach. You can also see the full range of garments we decorate at workweareast.co.uk.
Embroidered Work Shirts, Polos and Teamwear
Embroidered work shirts and polos form the backbone of most uniform orders. They sit closest to the customer, get washed most often, and carry your logo at chest height where it is seen in every conversation.
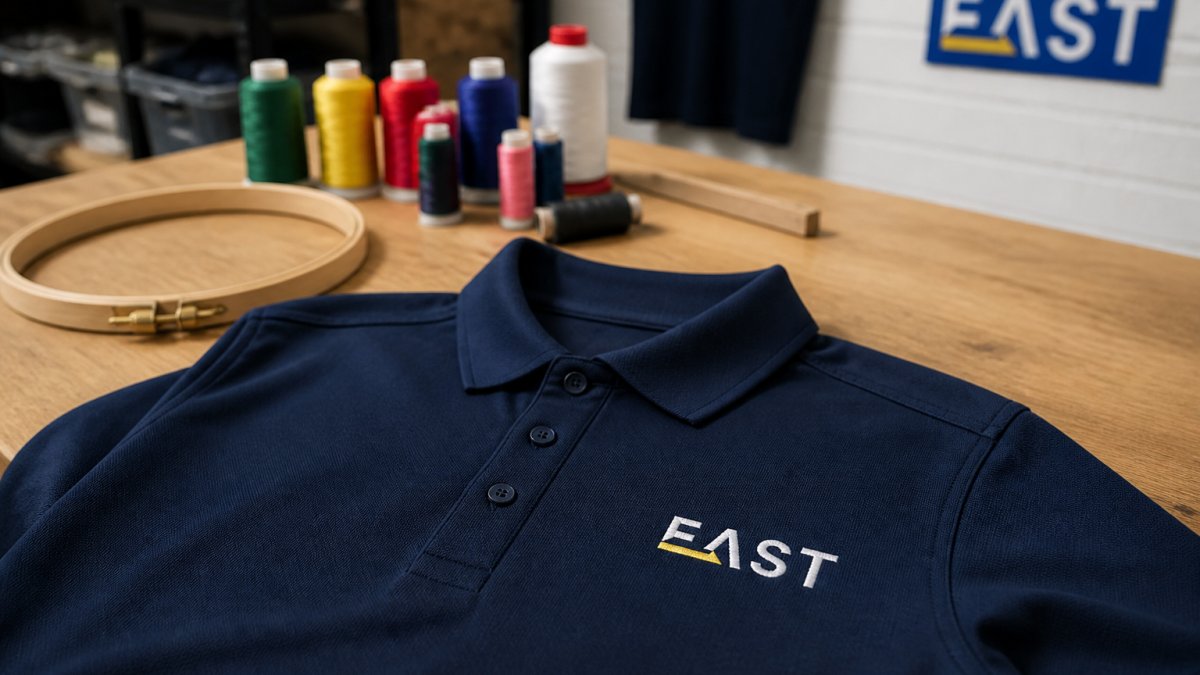
For office and front-of-house teams, a crisp embroidered shirt reads as professional. For trade and site work, a heavyweight polo or hoodie holds up better.
Sizing is where bulk orders go wrong. Collect sizes early, allow for shrinkage on cotton garments, and order a sample in your chosen style before committing the full run.
Hi-Vis and PPE
Our advice is straightforward: keep logos small and positioned away from reflective tape and the main fluorescent panels. On hi-vis jackets and vests, a small chest or sleeve logo is usually fine. Large prints across the back can compromise the garment's compliance, so check with us before specifying anything substantial.
PPE that must meet a specific standard should be sourced as compliant garments first, then branded. Never assume a decorated garment retains its certification until the supplier confirms it.
How to Order Embroidered Workwear for a Team
Ordering for a team follows a clear sequence. Following it in order prevents the sizing and delay problems that plague bulk orders.
- Define the roles. List each team or department and what they need: office shirts, trade polos, hi-vis, outerwear.
- Choose garments. Pick styles and colours, keeping to a small range to simplify stock and reordering.
- Prepare the logo. Send vector artwork where possible and approve the digitised preview.
- Collect sizes. Gather sizes from every wearer, allowing for fit preference and shrinkage.
- Order a sample. Approve one finished garment before the full run goes ahead.
- Confirm quantities and lead times. Agree the delivery date against your event or start date.
- Approve and produce. Sign off, then production begins.
- Distribute and record. Note who received what, so reorders match.
For organisations managing staff across multiple sites, a workwear portal lets individuals order their own sizes within rules you set, which removes the spreadsheet headache entirely. You can see how that works on our workwear portal page.
How to Care for Embroidered Workwear
Caring for embroidered workwear is simpler than most people expect, but a few habits extend garment life considerably. Embroidery is durable by nature, yet heat and harsh chemicals still take a toll.
- Wash inside out to protect the stitching from abrasion
- Use a cool or low-temperature cycle rather than a hot wash
- Avoid biological detergents and fabric softener on embroidered areas
- Skip the tumble dryer where possible, or use a low heat setting
- Iron on the reverse, never directly over the embroidery
- Store folded rather than on a wire hanger to keep shoulders in shape
Print, by contrast, needs more care. Turn printed garments inside out, wash cool, and never iron directly over the print. Done properly, both embroidery and quality print will last the life of the garment.
Pricing, Turnaround and Getting a Quote
Pricing for embroidered workwear depends on several factors, and any supplier quoting a single flat figure without asking questions is guessing. The main drivers are garment choice, quantity, number of logo positions, stitch count and delivery timescale. Understanding how they interact helps you budget accurately and avoid surprises at invoice stage.
What Drives the Cost
- Garment type and brand: a basic polo and a premium softshell sit at very different points. Fabric weight, brand and stock availability all affect the garment cost before decoration is added.
- Quantity: larger runs reduce the cost per garment because setup and machine time are spread across more units. A run of ten and a run of a hundred do not scale linearly.
- Logo complexity: more colours and higher stitch counts take longer to produce. A simple one-colour mark is quicker and more economical than a detailed multi-colour crest.
- Number of positions: chest, back and sleeve logos are priced separately because each requires its own digitised file and machine run.
- Turnaround: standard lead times cost less than rush orders, which may require stock to be sourced or production to be prioritised.
Digitising is usually a one-off cost per logo. Once your logo has a stitch file, repeat orders reuse it, so the per-unit cost on a reorder is typically lower than the first run. If you expect to order regularly, it is worth asking us to keep your digitised files on record.
Turnaround and Lead Times
Turnaround varies with the size of the order and the garments chosen. For a straightforward run of embroidered polos, lead times are typically measured in days to a couple of weeks, but stock availability on specific styles can extend that. If you have an event date, tell us at the outset so we can confirm what is achievable before you commit. Ordering early is the simplest way to avoid rush charges.
How to Get an Accurate Quote
All prices are quoted in GBP and exclude VAT unless stated otherwise. To get a proper figure rather than a guess, email info@workweareast with:
- Your garment list, including styles and colours where known
- Quantities per size and per garment
- Your logo file, ideally vector
- The positions you want decorated
- Your required date
We will come back with a clear quote and confirm what is achievable. For teams that want a ready-made starting point, our workwear bundles group common garments together, and our branded polo shirts cover the most popular uniform piece. Hi-vis options are available through our hi-vis range.
Frequently Asked Questions
What is the best workwear for embroidery?
Sturdy, tightly woven fabrics hold stitches best. Cotton and polycotton work shirts, polos, hoodies and softshell jackets are the usual choices because they support dense logo embroidery without puckering. Very stretchy or very lightweight fabrics can distort under a heavy stitch count, so a lower stitch count or a printed badge may suit them better. For hi-vis and PPE, decoration must not interfere with the garment's protective function, so check before adding a logo. Ask for a sample stitch-out on the actual garment before committing to a bulk order.
How do I prepare a logo for workwear embroidery?
Supply a vector file such as AI, EPS, PDF or SVG where possible, or a high-resolution PNG at 300dpi or above. The artwork needs clean edges, no gradients, and text thick enough to stitch legibly. Very small lettering, fine lines and complex detail often need simplifying, and a digitised stitch file is then produced to control stitch direction, density and underlay. Send your file to info@workweareast for a quote and the team can advise what will reproduce well on fabric.
Is embroidered workwear more durable than printed workwear?
Embroidery generally outlasts print because the design is stitched into the fabric rather than sitting on top of it. It withstands repeated washing and does not crack or peel in the way a heat-applied print can. Print still wins for full-colour images, gradients and very fine detail, and DTF printing has improved markedly. For a chest logo on daily-wear uniforms, embroidery is usually the longer-lasting option. For large promotional graphics, print is the practical choice.
How do you care for embroidered workwear?
Wash inside out at 30°C or 40°C on a normal cycle, and avoid fabric conditioner, which coats the threads. Turn garments inside out before washing to protect the stitching, and never tumble dry on high heat. Iron on the reverse, never directly over the embroidery, as direct heat can flatten or scorch the threads. Check the care label on each garment, since hi-vis and technical fabrics often have their own washing limits. Store folded rather than on a wire hanger to keep the logo shape.